You will need: Clear jar (glass or plastic - we used the one from the experiment on monday), soil, spade, waterFind a place to scoop up some soil. Make sure it is okay to take the soil from this spot. {Don’t dig up your pretty flowers.} Choose a spot that will have various kinds of soil. Your garden probably isn’t the best location.
Find a place to dig up some soil. Choose a spot that will have various kinds of soil. Your garden might be ok, but you will need to take a spade of lots of different levels of soil - dig a deep hole! Its also great if you can go to a nearby field or a woodland - you will see different results. Fill your jar about half full with soil. Take the jar home ready for the experiment.
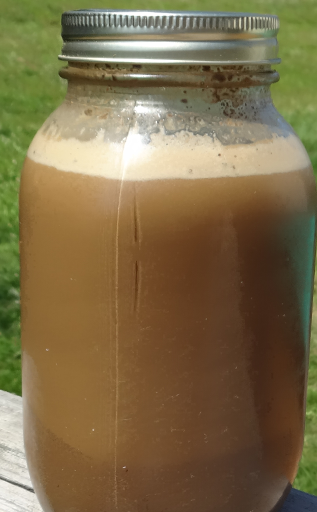
Once home, fill the rest of your jar up with water. If it has a lid, pop it on and shake hard. Ours didn't have a lid, so we did a lot of stirring with a stick to make our soil potion. Now leave it somewhere you can see it... it starts to separate slowly and it's interesting to revisit a few times. Ours took 24 hours to separate properly.
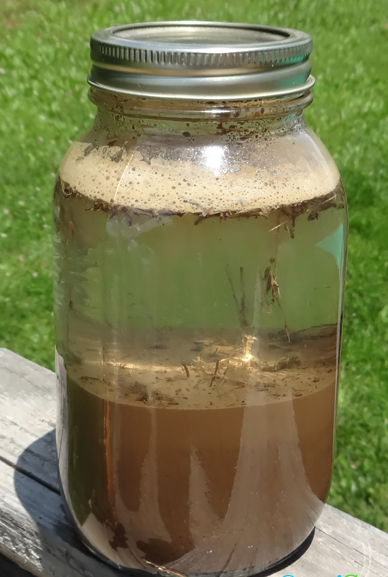
Things that you might want to note: The sediment will form layers in the jar. The largest (heaviest) sediment sink in the water first. As time goes on, more and more sediment sink in the water. At the bottom of the jar, you’ll see gravel (stones). Next, you’ll see sand, then silt, then clay, then rotting leaves/wood.
The types of sediment are named based on their particle size. The smaller (lighter) sediment are at the top of the jar. The amount of each type of sediment depends on what type of soil you have.