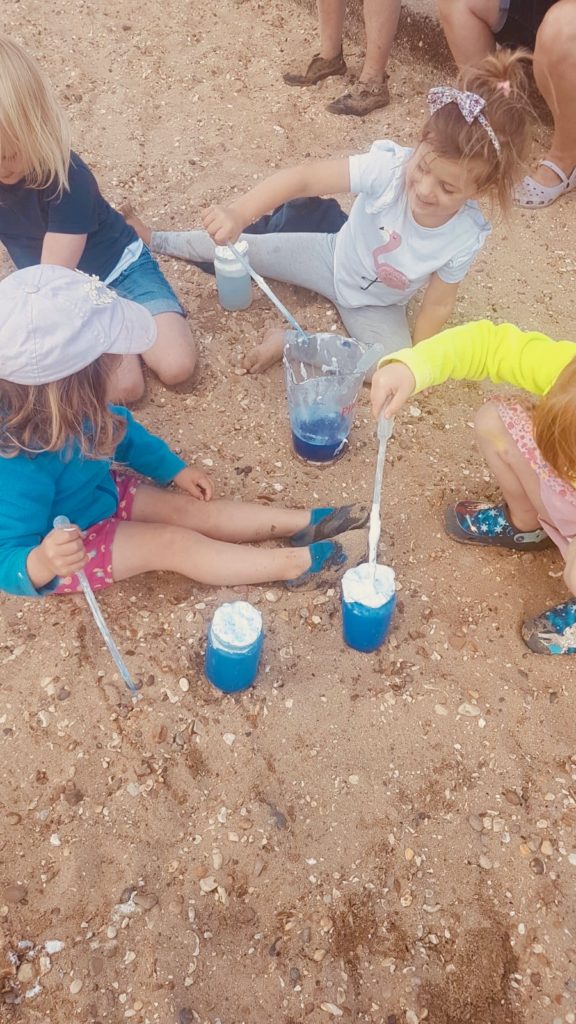
Good morning. It's a new week and we are going with a bit of a theme this week. Lots of learning about weather! So today, after all the rain for the past few days, we are making a raincloud.... in a jar. This is always a popular activity at the beach school sessions we run - we hope you enjoy it too.
You will need: some water in a jug (to pour), some food colouring (red, blue or green work best), something to gently drop water (a pipette, a water pistol, or the edge of a spoon), a clear jar, any type, some shaving foam (if you have gel, squeeze it out and rub it together to get foam. Squirty cream can work if you cannot get/do not have shaving foam.
Fill the glass jar roughly 2/3 full with clear water. Mix some of the remaining water with the food colouring, and practise making drops with your object. You need the drops to be added gently (if they are just poured directly you get a hole in the shaving foam, you want them to work their way through slowly). Can you add two or three drops at a time. Now you've practised, you're ready!
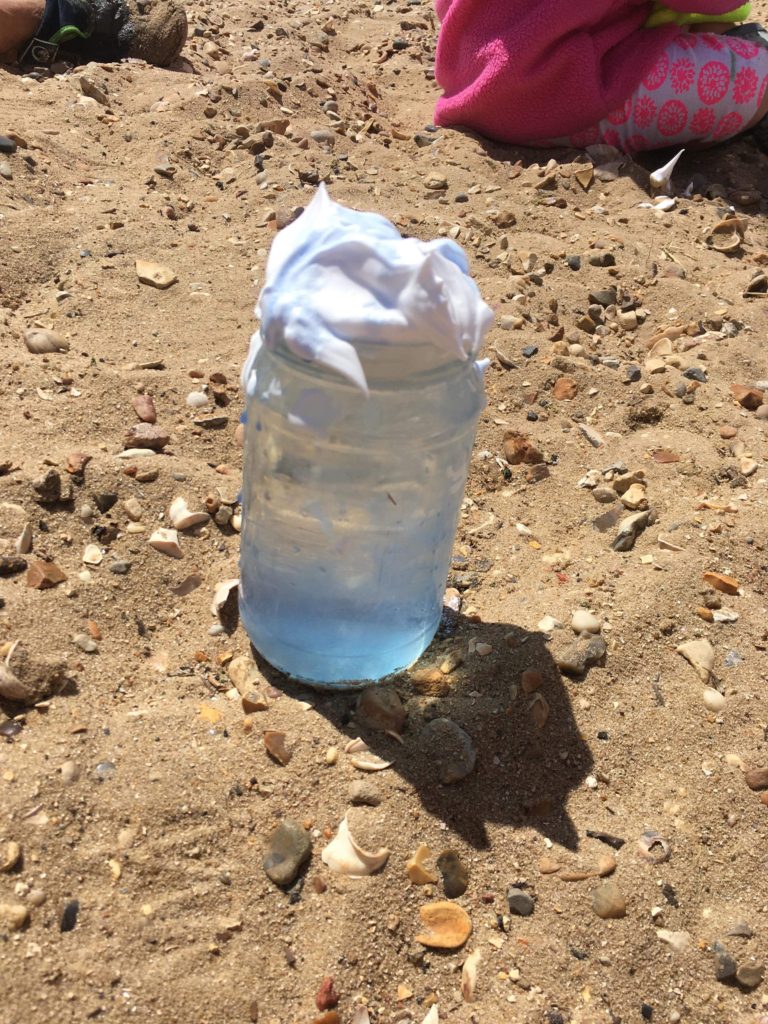
Empty the jar and refill 2/3 with clear water. Add shaving foam to fill the top - you will want about 4cm of shaving foam (to represent the clouds) on top of the water. Now, drop the coloured water slowly, bit by bit, on top of the shaving foam. Watch it make its way through. This will be the rain. Stop every 10 drops or so and watch to see if it is raining in the jar yet. It's great to see the rain start to appear as the cloud (the shaving foam) gets full of coloured water.
If you have a slightly older child, you might want to use this resource from BBC Bitesize, explaining the water cycle. It's aimed at KS2, but my 4 year old and 6 year old both watched it and understood some of it.
If you enjoyed this, you might also want to try our other weather experiments; making a rain gauge, creating rainbows, making a wind sock,
Good morning. A lovey hands on science and art activity today! It's great for smaller kids but actually in my experience, much older children also really enjoy it too.
You will need: milk (any type!), a shallow tray, washing up liquid, a pipette or something to drip food colouring, 3 or more different food colourings, a cotton wool bud (or a paint brush would work well). If you want to make marbled paper you can use any paper to dip, but watercolour paper works amazingly well! If you do this, you will need a paper drying area set up too.
Cut your watercolor paper to a size that easily fits within your tray (we used small squares). Place the stack of paper near your tray because once you start to see swirling colours you need to use the paper quickly. Pour a thin layer of milk into the bottom of your tray. Using the pipette, add in a few (start with about 3) drops of food colouring scattered around the milk. Now for the fun bit!
Dip the end of the cotton wool bud into the washing up liquid. Tap the excess off the end and touch it into a dot of the food colouring, in the milk. The soap and food coloring will now start interacting with each other and the colours will swirl around. Little and often works best!
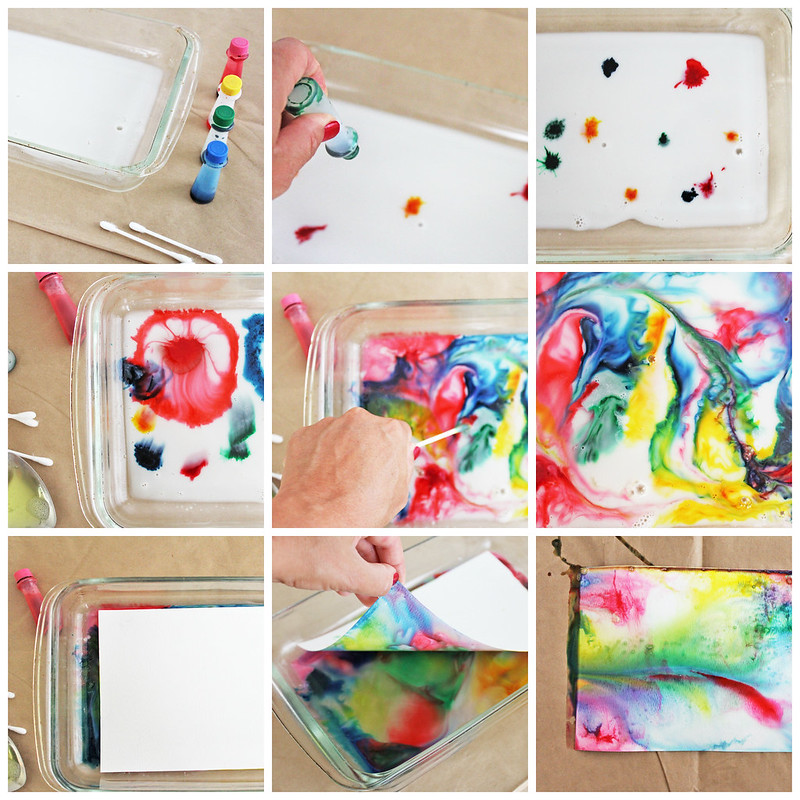
This is exciting enough on its own, but if you want to extend it, or you have older children, you can make marbled paper. To do this, before the colours get too mixed together take one sheet of your paper and lay it on top of the milk mixture. Press down. Gently lift it, set aside to dry, and continue with additional sheets.
Leave to dry completely. We were amazed with the results! Enjoy!
If you enjoyed this, you may also enjoy some of our Science activities: chromatography, salt patterns, the ice challenge or nature egg dying.
Thursday's activity is always one that can be done at home, simply. For today, you will need:
A few colours of felt tip pens (we suggest red and blue for minimal change and black, orange, purple and green for great colour splitting. But you can use any colours you'd like!).
Kitchen towel or coffee filter paper cut into strips or semi circles
A small tray or bowl filled with water
Something to leave wet paper to dry on
Draw a line roughly 2 cm from the edge of the paper. With the strips it doesn't matter which end you use, but with the semi circles, if you want to make butterflies you will need to draw the line 2cm from the curved edge. Make sure the line is relatively thick.
Now hold the kitchen towel/filter paper in the water, keeping your drawn line above the water, for 60 seconds. It's a great way to practise counting and to help with motor skills. Once the 60 seconds is over, place on a tray to dry. My children really enjoy watching the papers slowly change - so start to see some changes immediately and then as the colours change you see new lines form. Our favourite was black!
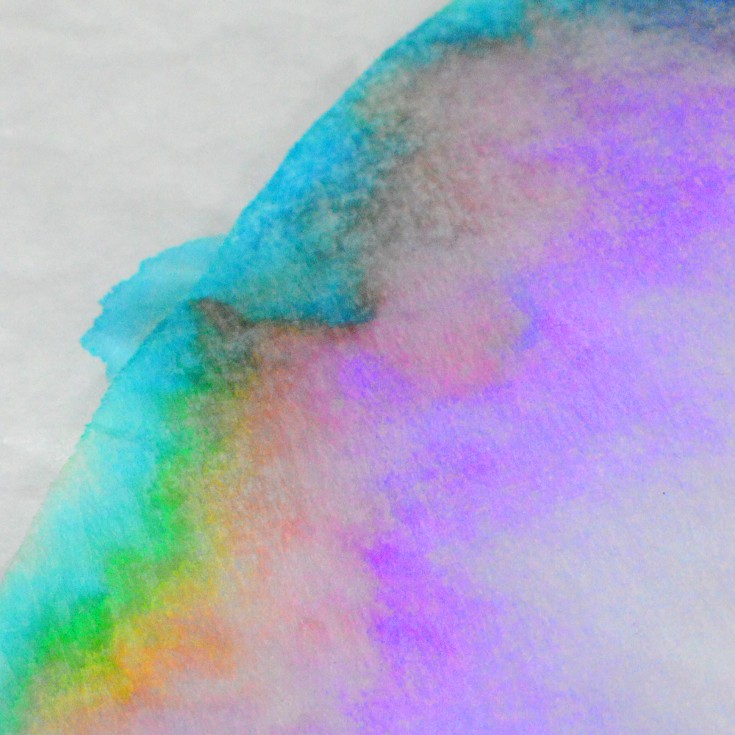
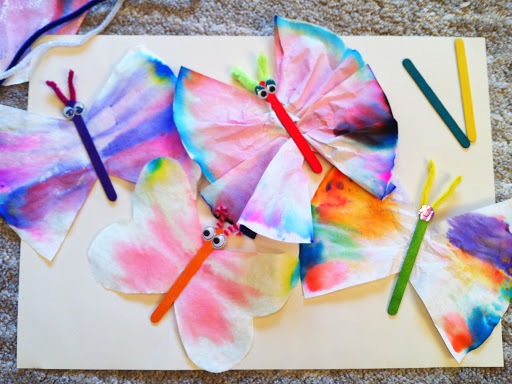
If you want to develop this activity, you can then use the dried semi circles to make butterflies. Carefully fold the semi circle to create a fan , then using a stick from the garden, or an old lolly pop stick stick it along the middle.
They look great hanging up.
If you enjoyed this, you might also enjoy some of our other activities. Splitting food colouring (very different results with some colours), colour mixing volcanos and colour mixing and pouring water.
It's another rainy day here again today and maybe for you too, so I've shuffled the activities a little bit so this task can be an indoor or outdoor one. It takes a bit of planning and waiting but it's worth it!
You will need: For the first bit: food colouring or paint, water, anything to freeze water in - we suggest a bowl or mug - and a freezer. For the second bit: salt, a pipette or water pistol (a paint brush works too) and a tray or plate to work on.
Using a your container, fill 2/3 with water. Now mix in food colouring or paint so you have a strong colour. Now pop it into the freezer. If you don't have the freezer space, you could use an smaller egg cup or a cup quite easily. You might want to do a few of these in different colours. It will probably take a few hours to freeze (we usually freeze in the morning so that we can then do the activity in the afternoon).
Once your ice has frozen you get the fun bit. Turn the ice out of its container. Pop some salt into a pot and some water in a small cup. Rub the salt onto the top of the ice and the use the pipette, water pistol or paint brush to slowly add water. As you sprinkle the salt and add the water, rubbing it in, you should see tunnels and grooves start to form. It makes an unexpectedly beautiful pattern when you hold it up to a light or window.
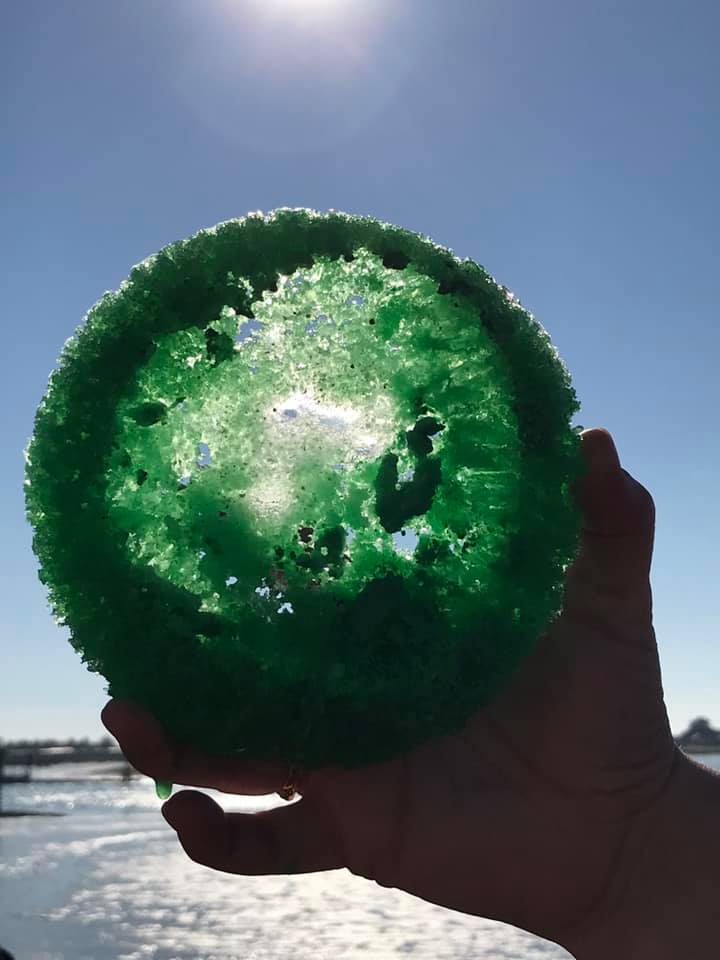
We often repeat this activity but make the water we're using with the salt a different colour (for example yellow ice and red water or red ice and blue water) so we see the two colours and some colour mixing too. It's a great revisit of our water colour mixing activity or our food dye splitting activity which are both in our activity bank.
Nothing like a bit of fun maths to get us all being creative! This is very simple, but effective.
You will need: a piece of paper, a pen, glue or a camera (if you want to keep your picture) and lots of interesting finds collected from your garden or during your daily walk. When you are collecting the finds, make sure you try and collect them in even numbers (2, 4 etc).
Once you have your finds, take your piece of paper. Draw a line down the middle of the paper (or fold it in half). Now work with your child to create a symmetrical pattern. You can do this as many times as you'd like.
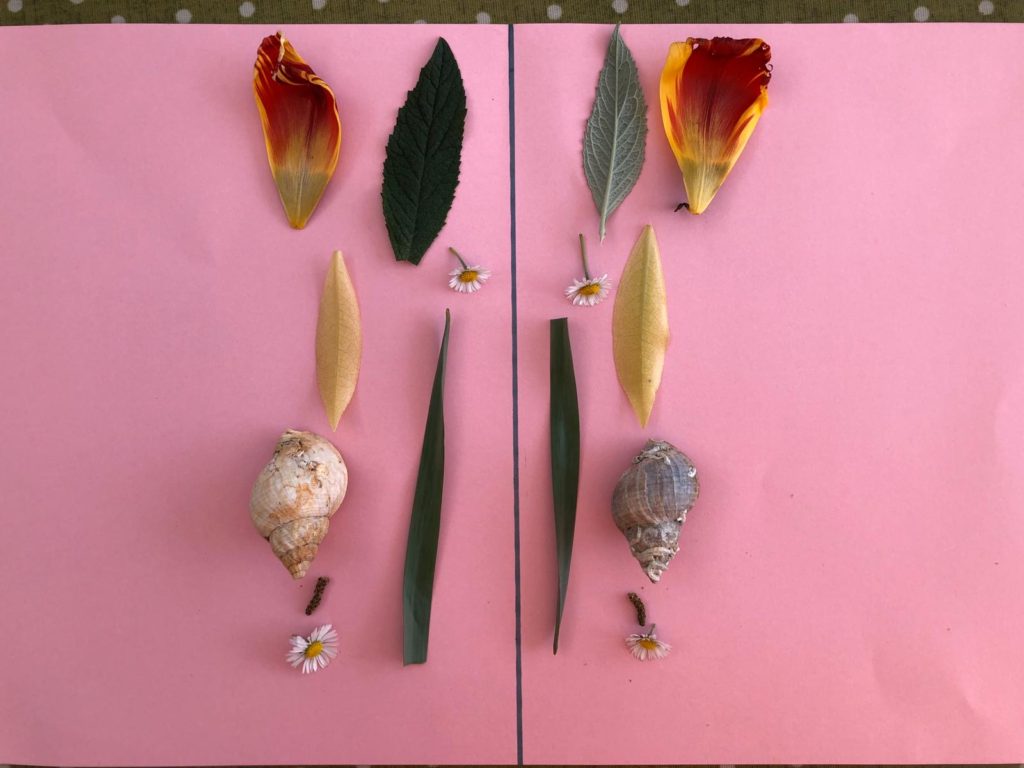
You may want to discuss other places you can find symmetrical patterns and go on a hunt round the garden for them. Many leaves, ants, woodlice, ladybirds, butterflies have symmetrical patterns on them.
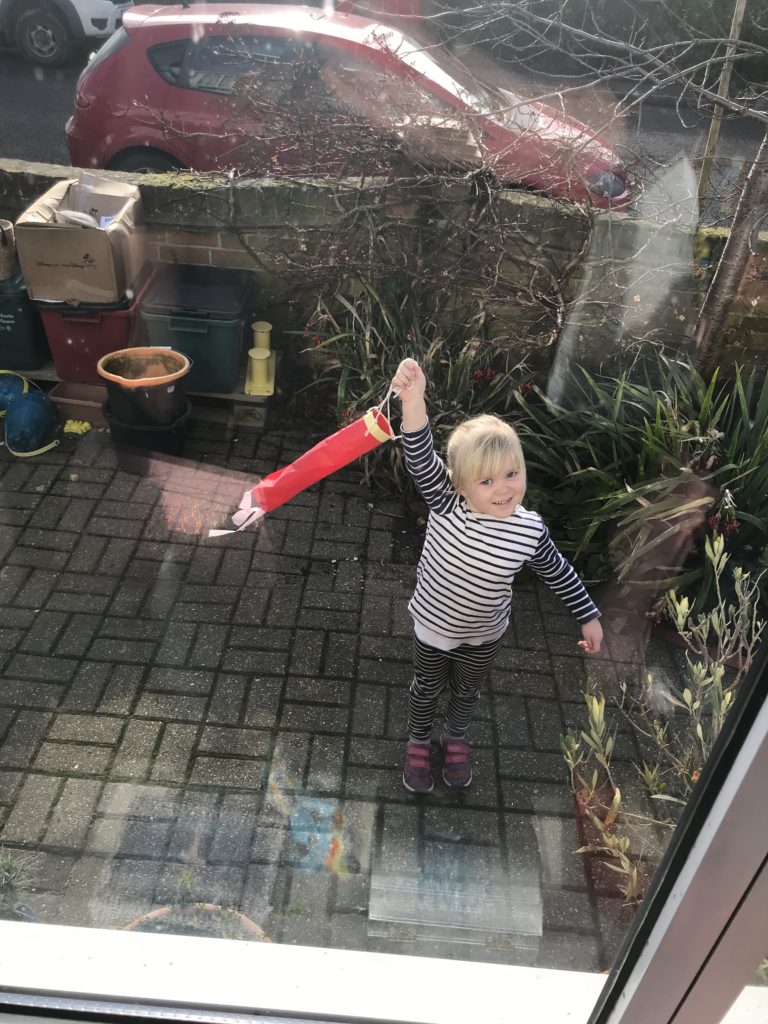
Its been rather windy here for the past few days and it sounds like it has been similar around the UK. We thought making a wind sock to test the direction of the wind is fun and then using it in the garden or during your walk (or both!) playing with it afterwards is also great!
You will need: Tissue paper (or a newspaper sheet would do - thin paper is best as it is lighter). A strip of card (or a few strips of paper stuck together to make a thicker, stronger strip), glue, a hole punch (or something to make holes - a sharp pencil would do), some string.
- Take a big piece of tissue paper and a strip of card.
- Glue the card onto one end
- Bend the card into a circle and stick the ends together
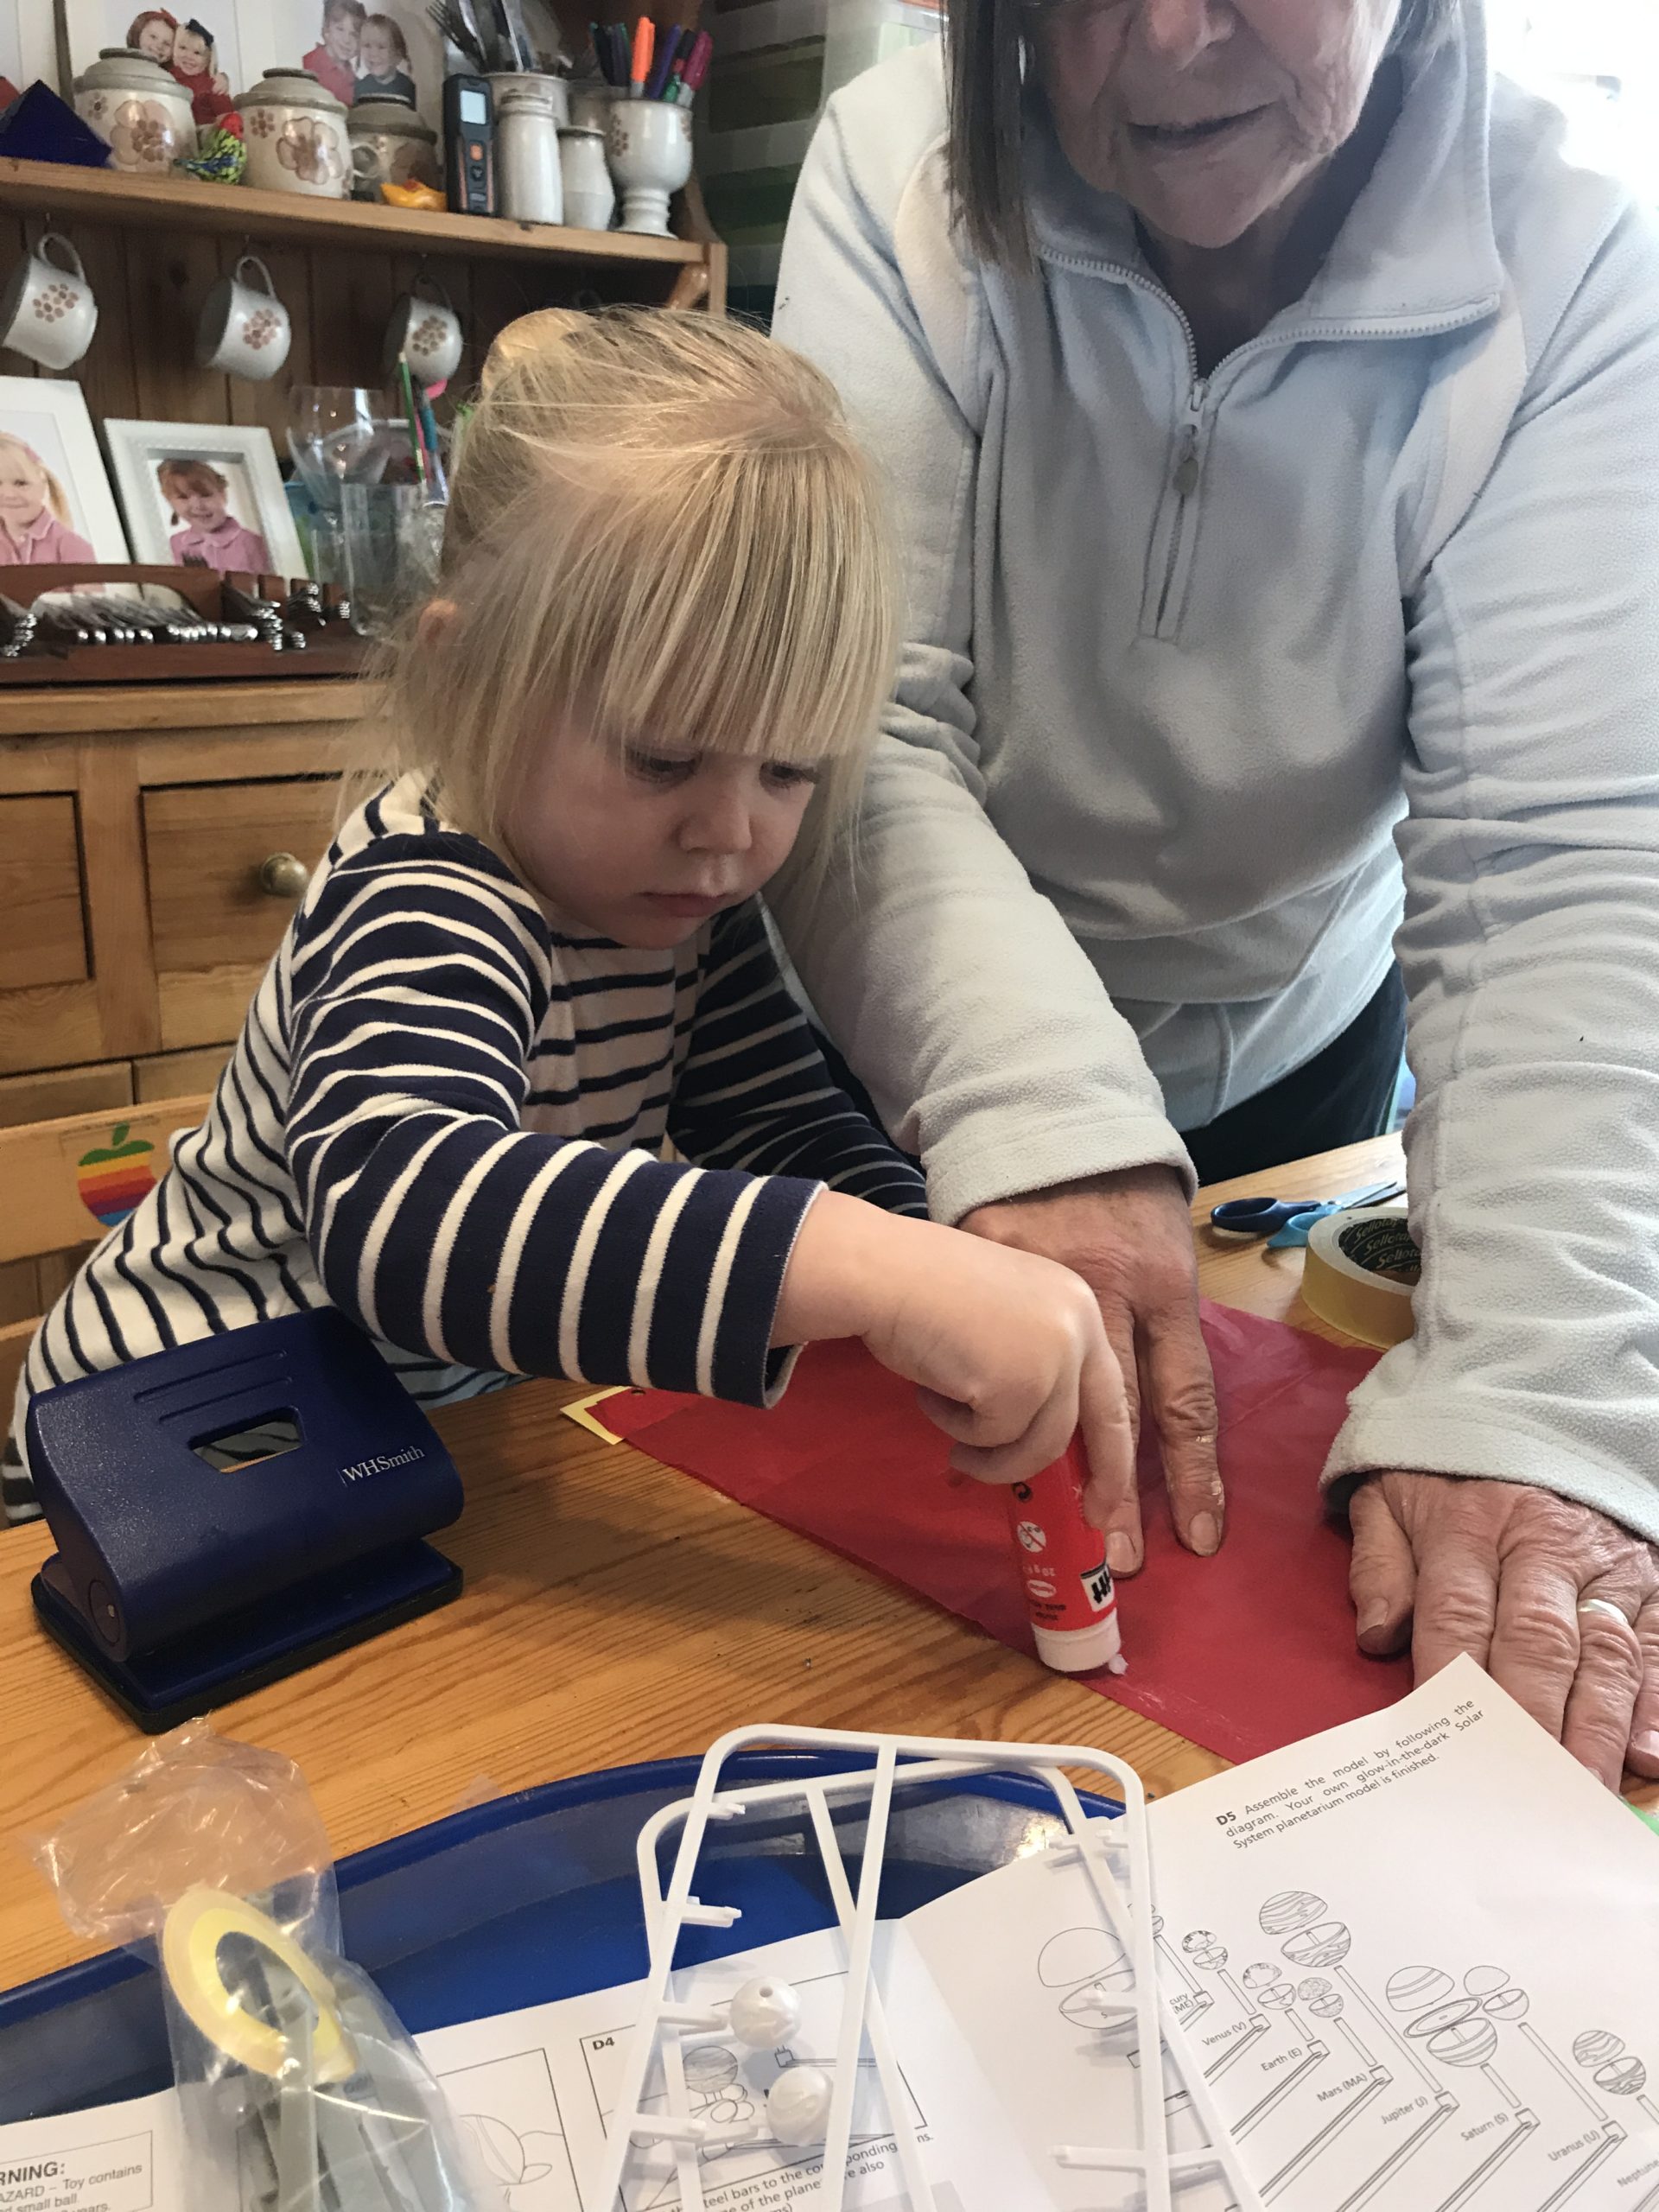
- tape the tissue paper along the seam to make a tube
- Glue tissue paper tails around the opening in a zig-zag pattern
- tie or tape 4 strings to the card
Hold up your windsock and see if you can work out which way the wind is blowing. You can try running up and down the garden (or a local space) to see if it flies behind you better in one direction or another - why do you think this is?
We spent a lot of time running with it, making it fly like a kite and then trying to work out of the wind blows in the same direction everywhere in the garden (it didn't) and looking at why it might change. Enjoy!
This is pretty simple as long as you have some freezer space, but it is lovely!
You will need: 2 (or more, we used 4) egg shells (try to just have the top broken off), water, some flowers.
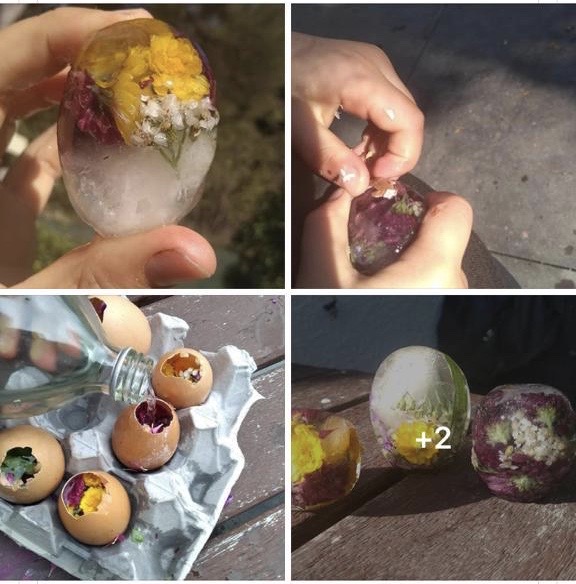
During your daily walk, or in your garden, collect a good handful of flowers - a mix of small and larger flowers works well (really big flowers do not work though, they don't fit into the egg shell!). Place the egg shells into an egg tray carefully, with the hole facing upwards. Fill with the flowers you collected, then carefully pour water into the eggs to fill them (great motor skills for smaller children). Pop them in their tray in the freezer, to turn to ice. Once they are ready (about 4 hours or over night) you can peel off the egg shell and you have some really pretty ice.
If you have older children, once you have trialled this, you can purchase glass resin (small amounts) and make paperweights with it in the same way. If you do this, remember a gently tap the egg tray to move air bubbles out of the resin.
This morning we are having a bit of a maths focus outside. You will need: a piece of paper, a pen and something to lean on, for you activity in the garden or your daily walk. After this, you will need graph paper (ideally, but plain paper will do), colouring pens or pencils, a writing pencil and a ruler.
To start with you are going to do a survey. To do this, you write down your find, and then put a line next to it for each one. When you have completed a block of 4, the 5th line will go across the group (showing the group of 5).
You will need to explain how a tally chat will work and help at the beginning but older children should be able to manage this themselves. The children will probably see loads and want to include them all - thats ok, you might want to end the activity there but if you chose to carry on select 5 or 6 items to include in a bar graph later.
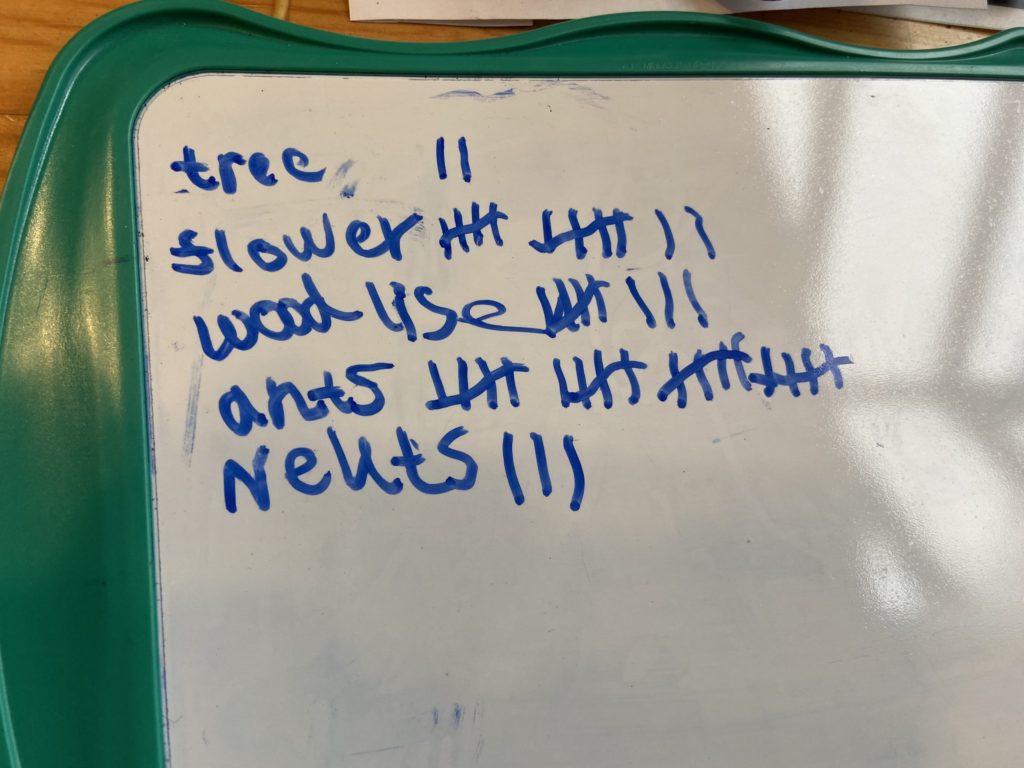
To complete a bar graph. Using the paper draw an axis. The horizontal axis (x) will be the items you spotted and the vertical axis (y) will be the number of the items you spotted. If you have graph paper, it's easy to write the numbers along the vertical axis, if you are using plain paper you will need to measure using the ruler and write a number up each centimetre (start at 0 on the bottom). For younger children parents might want to draw the axis first.
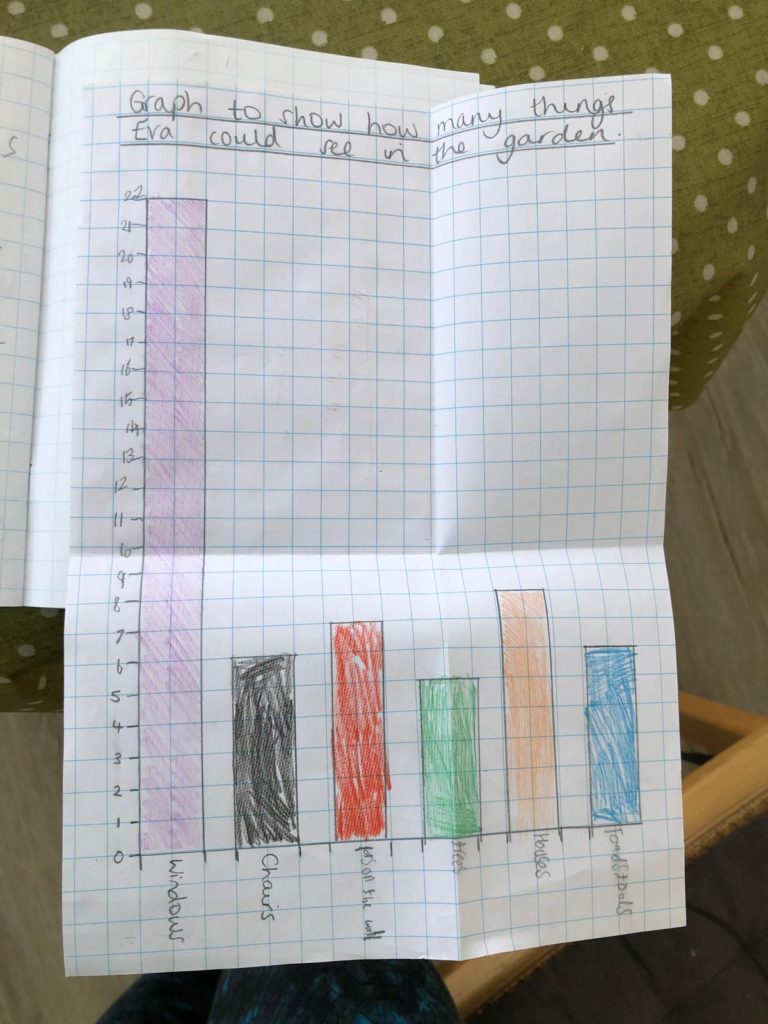
Now you draw a line for each bar on the graph to show the number of items you spotted, and you can colour them in different colours to make it easier to see. Some great maths for a nice outdoor activity!
Keep hold of it, because we will do another one mid summer!


